
Monday, April 14, 2014

Pallet Walkway

Dismantle a pallet, stain the wood, and lay pieces in your garden to create an elegant walking path. I absolutely love this idea!

Apple Angel Food Cake

2-ingredient Apple Angel Food Cake
APPLE ANGEL FOOD CAKE
1 can pie filling (any flavor, I used apple)
1 box of Angel Food Cake Mix
nuts (optional)...
Preheat oven to 350 degrees F.
Mix can of pie filling with dry cake mix. {No other ingredients}
Stir until blended.
Pour in a greased/sprayed 9x13 baking dish.
Top with walnuts if desired - making this a THREE ingredient cake
Bake at 350 until done, at least 25-30.
NOTE: You can use any flavor pie filling you want, so you can make lots of variations.See More
APPLE ANGEL FOOD CAKE
1 can pie filling (any flavor, I used apple)
1 box of Angel Food Cake Mix
nuts (optional)...
Preheat oven to 350 degrees F.
Mix can of pie filling with dry cake mix. {No other ingredients}
Stir until blended.
Pour in a greased/sprayed 9x13 baking dish.
Top with walnuts if desired - making this a THREE ingredient cake
Bake at 350 until done, at least 25-30.
NOTE: You can use any flavor pie filling you want, so you can make lots of variations.See More

Easter cupcakes

Turn your cupcakes into birds’ nests in just four easy steps.
1. Bake cupcakes using your favorite flavor cake mix and frosting.
2. Grate a chocolate bar.
...
3. Sprinkle the grated chocolate on to the frosted cupcakes.
4. Top with chocolate eggs.
TIP: Put the chocolate bar in the refrigerator for 30 minutes beforehand for easy grating
1. Bake cupcakes using your favorite flavor cake mix and frosting.
2. Grate a chocolate bar.
...
3. Sprinkle the grated chocolate on to the frosted cupcakes.
4. Top with chocolate eggs.
TIP: Put the chocolate bar in the refrigerator for 30 minutes beforehand for easy grating
Sunday, April 6, 2014
How to disamble a pallet

in Recycling // 105 Comments
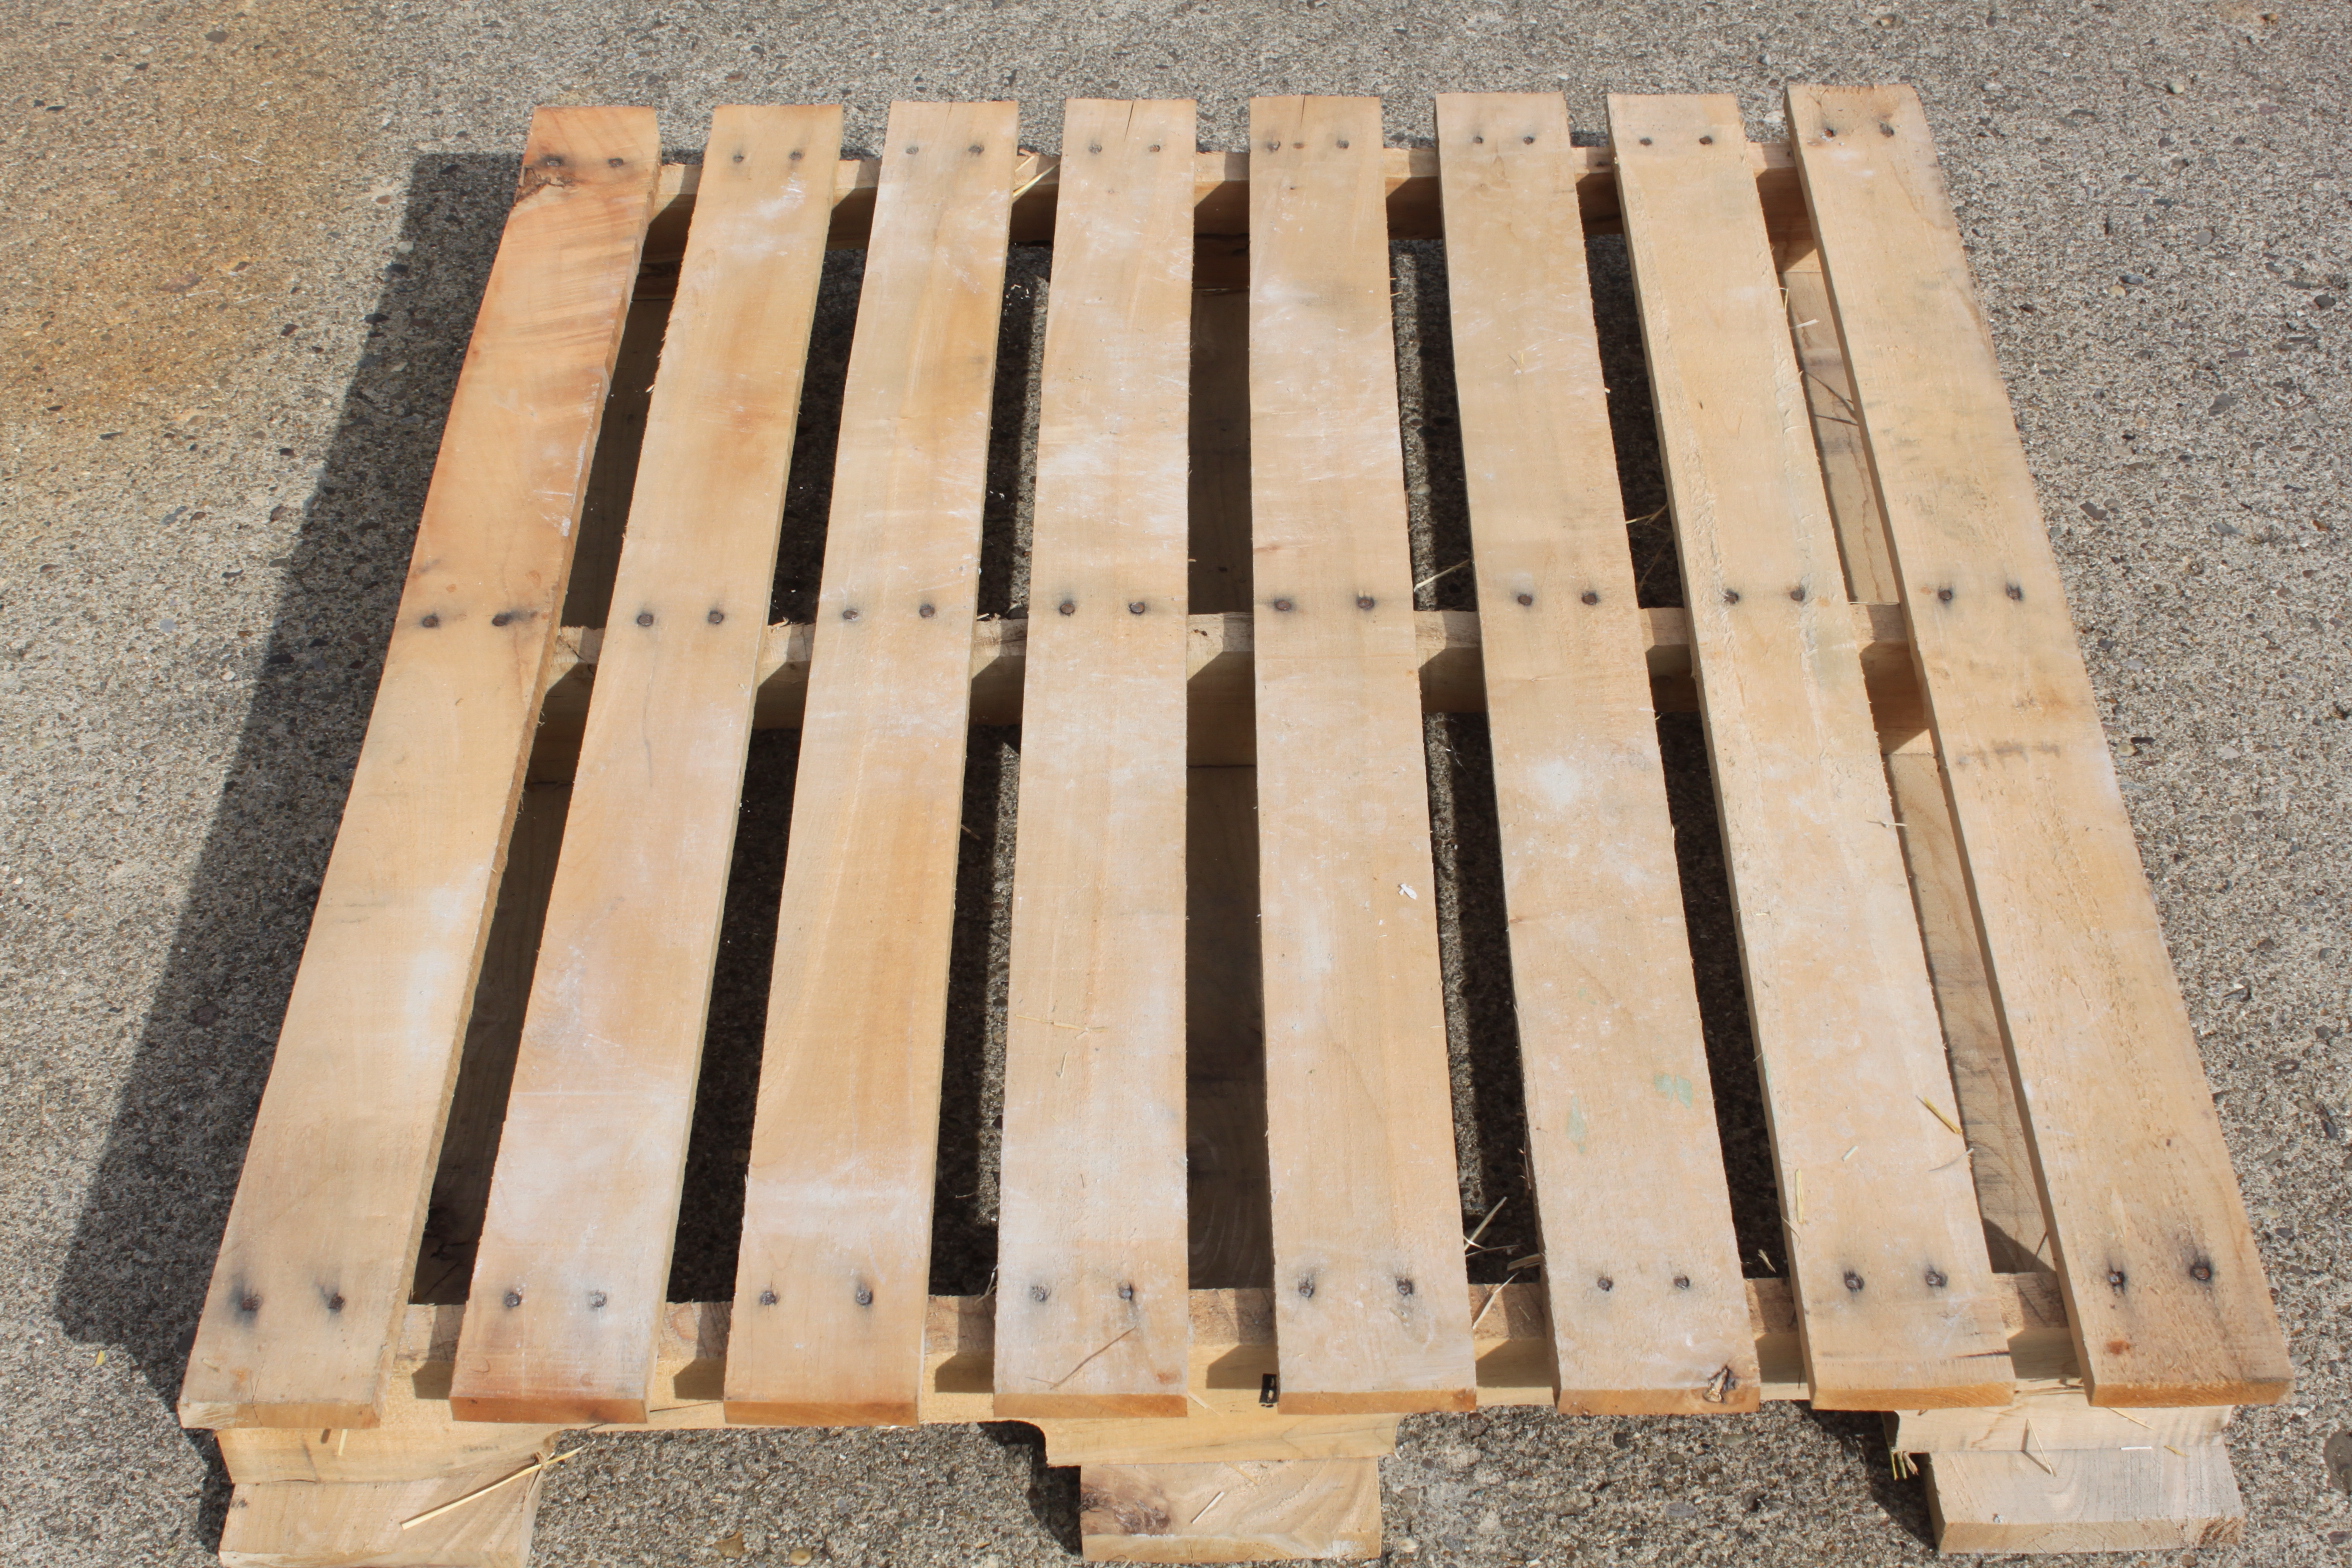
Here is a great pallet to use – nice thick wood and untreated
Working with pallets – the first thing we realized early on is it is nearly impossible and too time consuming to worry yourselves with pulling out the nails. It is too easy to damage the wood with the claw and hammer or pry bar.

You can get a corded or cordless sawzall – but they are the king of dismantling pallets.
So – 1st Tip – Invest in a sawzall. They are the key to quickly destructing a pallet – and without damaging or splintering the wood. Yes, it’s an expense – but the inexpensive ones will work just fine with pallets.

Throw out the little 5″ min blade and Invest in a 12″ Demo/Construction Blade. They last forever and can rip apart a pallet in a few minutes.
3rd Tip - How to disassemble. You can follow below with the pictorial below on how we do it – but in a nutshell – set it on its side and simply slice through the nails on each end. Then – head down the middle row doing the same thing and in no time you have a lot of pallet wood great for all of your crafts! You can also click here to see some of the items we have made from re-using pallets : http://oldworldgardenfarms.com/category/recycling/
If you would like to follow along through the year and receive our weekly DIY and Gardening Posts – be sure to sign up to follow our blog via email in the right hand column of this blog, or click the link and follow us on our Facebook or Twitter pages.

First Step – take your sawzall and cut down through one side of the smaller boards all the way to the bottom

Next cut down the opposite side – followed by the middle if there is one – the boards simply fall off

Once you have the front side finished – repeat for the back side – which are usually the largest of the boards
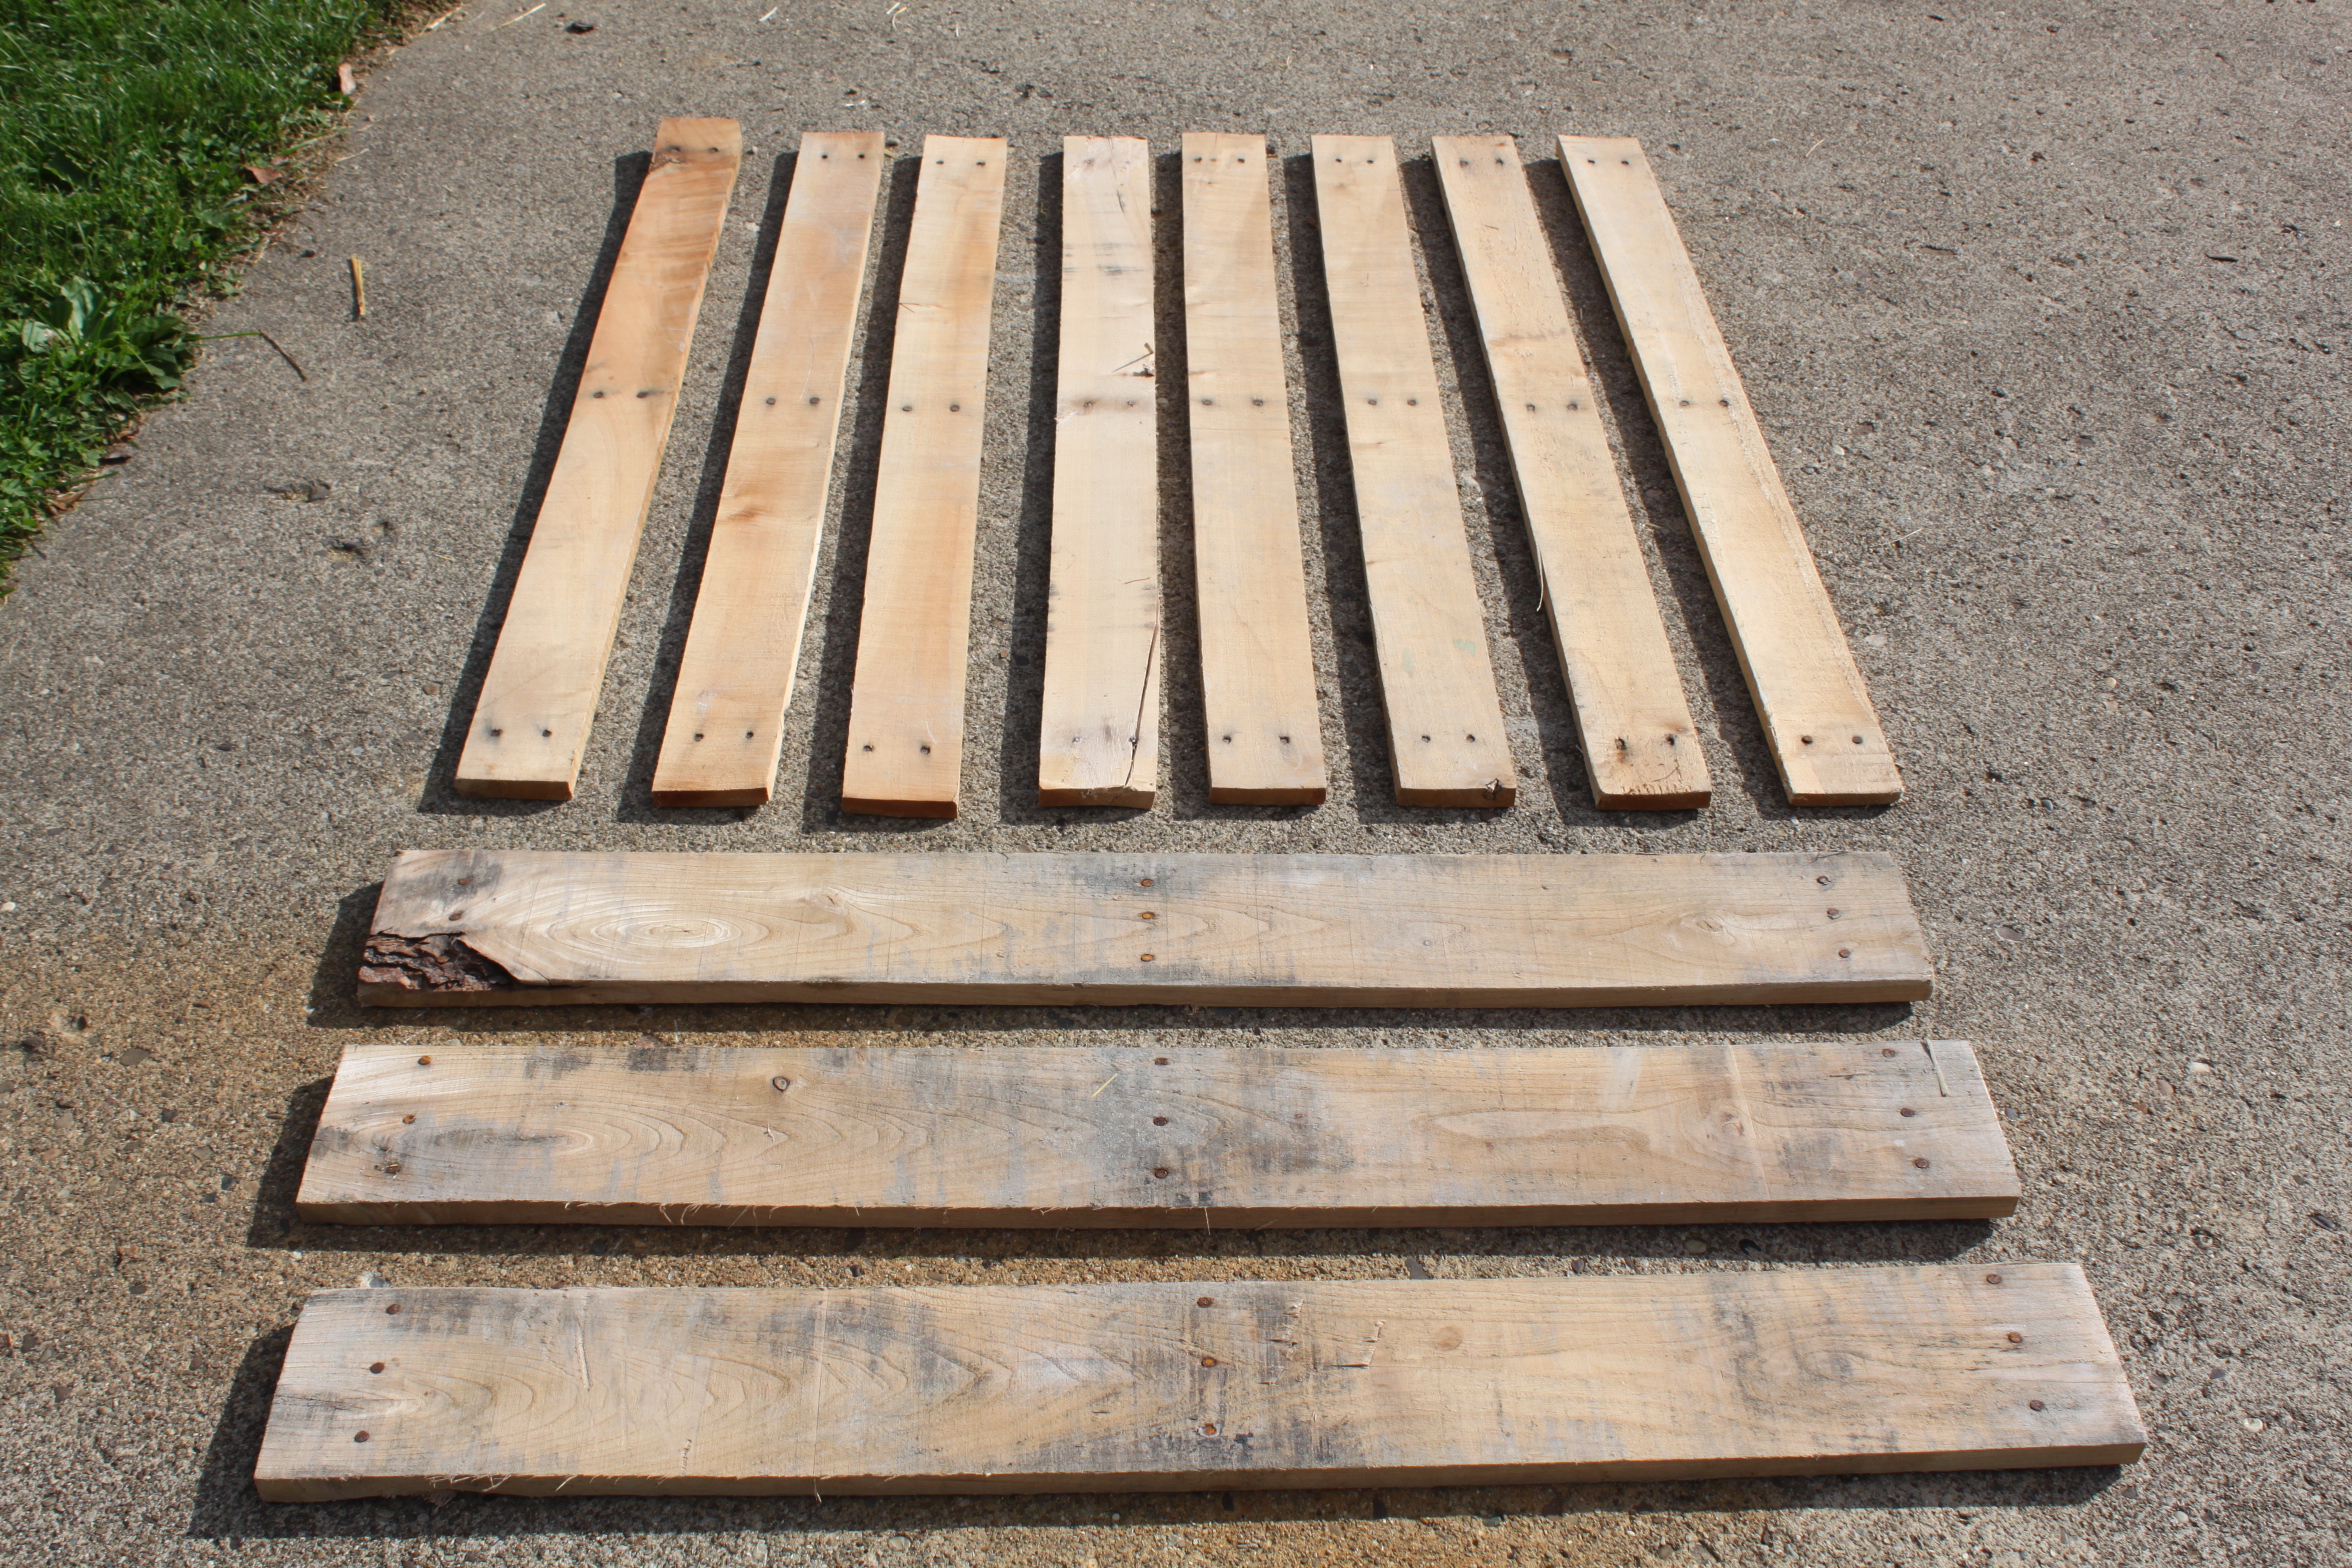
This is what you are left with – great boards to get building with!

Subscribe to:
Posts (Atom)